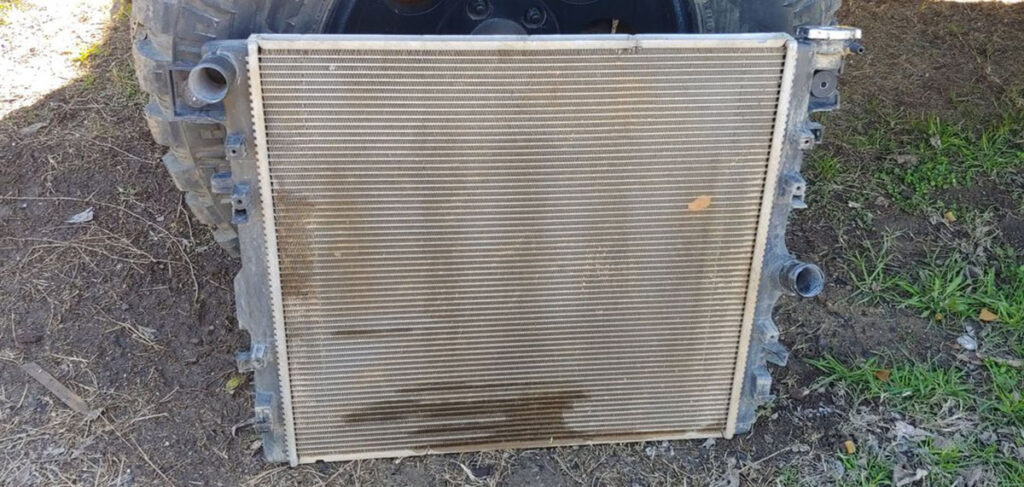
Not a whole lot to write about on this. Our Jeep radiator has been leaking for over a year. Probably since we bought it. I always assumed the radiator fluid that was dripping was coming from the over flow tank. The splashes and drips came from the area of the overflow tank. It is really hard to see a lot of the seams on a Jeep radiator because of the plastic covers they encase it in. I finally was able to somewhat pin point the area of the leak and discovered it was coming from the drivers side towards the top of the radiator.
Removing the Radiator
You can see in the picture above the wet areas that show where it was leaking. This was with the Jeep sitting for over a week. The leaks are small and only leak droplets. Over time though it does make a mess on the under carriage and require a top off on fluid. High out door temperatures would cause it to leak quite a bit more when driving. Removing it was fairly easy. Take off all the plastic covers, the fan, hoses, overflow tank, air filter housing, Temperature wires, A/C coil, a couple of screws and it just pulls out. Took about 30 minutes to remove.
Replacing the Radiator
After researching radiator replacements I decided to go with an OEM Mopar radiator. There were some decent reviews for aluminum after market radiators and of some 3rd party exact replacements. Nothing however came close to the hands down comments, reviews, and recommendations as the OEM Mopar radiator. Price wise it was higher than any other radiator. It did fit without any modifications though. We ordered it through amazon and it was shipped from Mopar direct. It took 2 weeks for arrival. As I mentioned, it fit perfectly without issue and took about an hour to complete installation. I filled radiator until the anti-freeze was at the top and started the Jeep. I put the heater on full and let it run while I continued to fill the radiator until the bubbling stopped and the radiator would not accept any more fluid. Simply performing this process purged any air out of the line.
Test Driving
We took a couple test drives with it afterwards to check running temperature on the road. One of these was a 200 mile round trip to Loco Coyote in Glen Rose, TX for some BBQ. No overheating occurred and the temperature gauge actually sat a little lower than it used to. Our Jeep doesn't have a digital display to know the exact running temperature so we have to go by the gauge. When the weather becomes reasonable again we will be ready to do some wheeling!